Vehicle Customisation System: Journal
Master Material Setup
When it comes to handling the material of each mesh, I decided to set up a master material that is capable of handling all of the customisation options and their different properties. Using one master material is beneficial as it is more performant than just giving each mesh its own materials and reduces draw calls.
To achieve this, I researched how other games and programs handled similar things. I eventually stumbled upon UDIMs in 3D Modelling, which allow us to distribute UV islands across several textures. The process of having a UV offsetting system that assigns an image to specific UV tiles sounded something that was replicable in Unreal’s Material Editor. However instead of assigning an image, I opted to just assign colours to the UV tiles.
I started off by creating a material map mask that was split into 18 tiles. I chose 18 as that was the amount of different customisable options I planned for. This mask was made from the UV map in the meshes second slot, meaning all my meshes that will be using this master material will need a second UV map with the UVs arranged into the corresponding tiles.
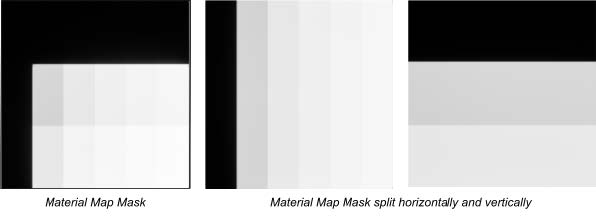

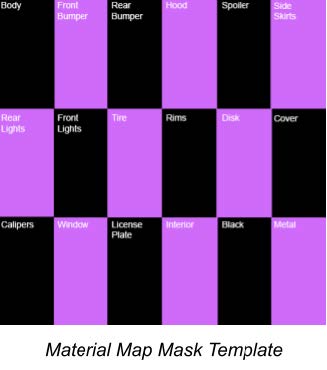
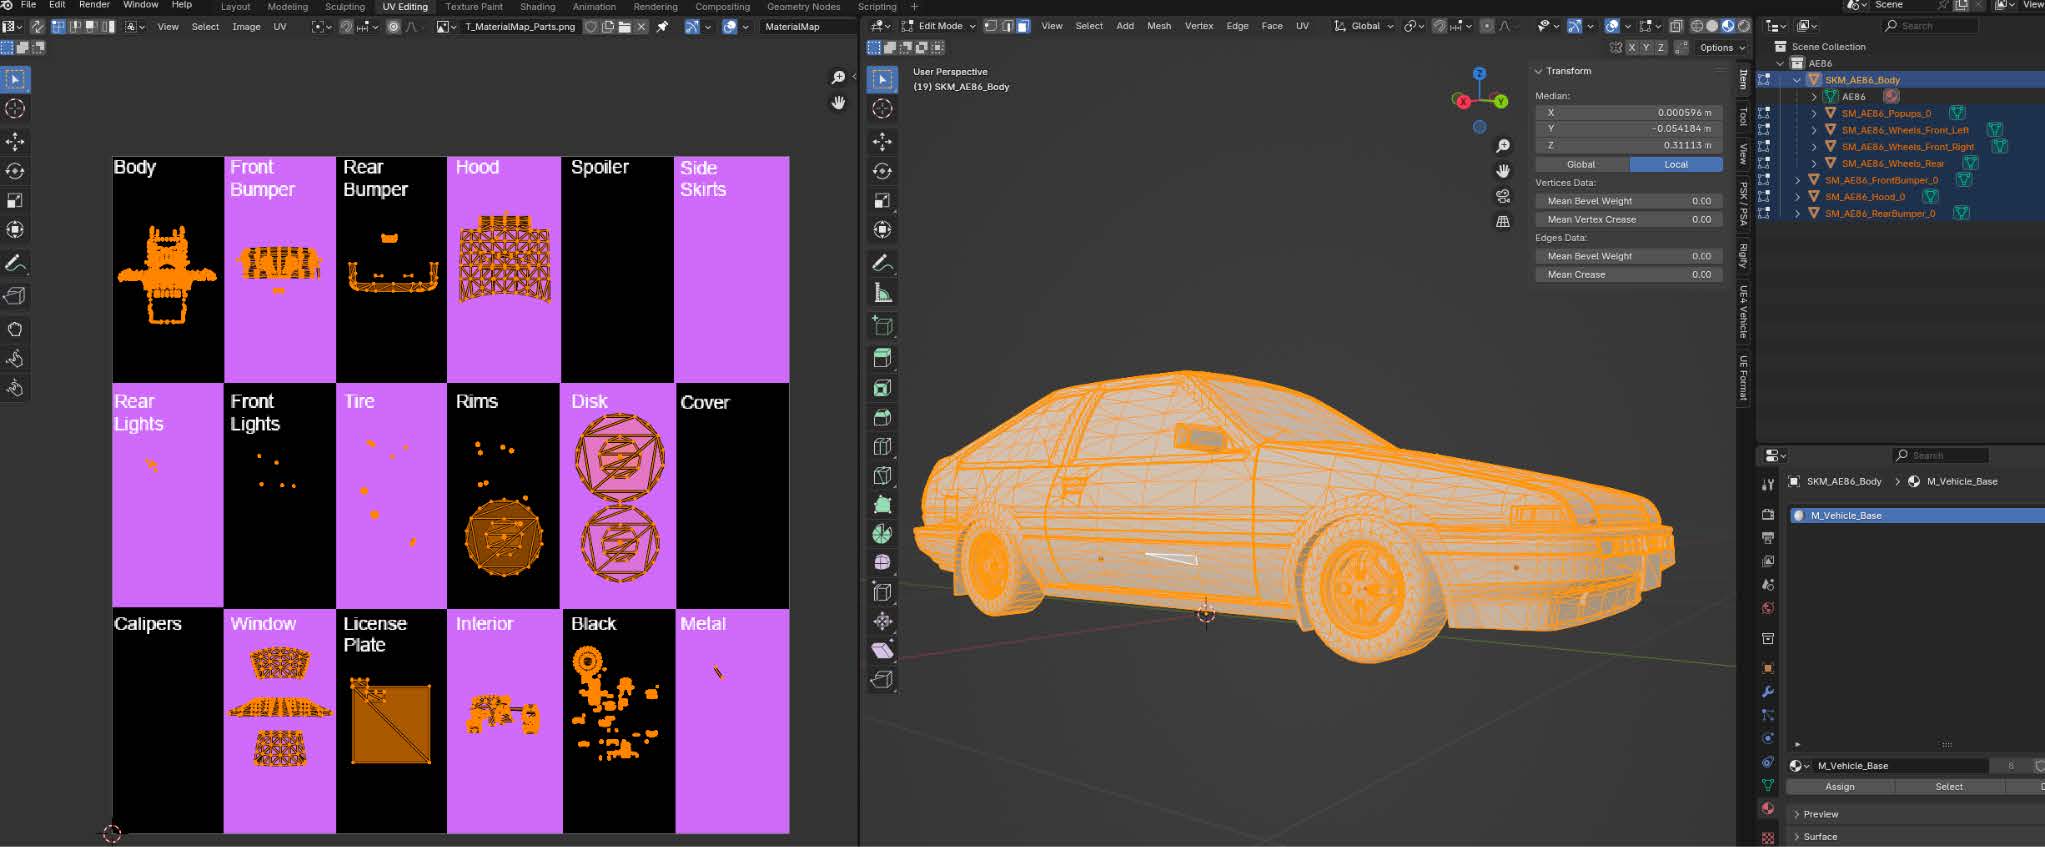
After having the material map mask set up in Unreal, I created a basic template texture that was labelled with what each tile would affect. This would help when it comes to UVing the meshes to be compatible with the master material.
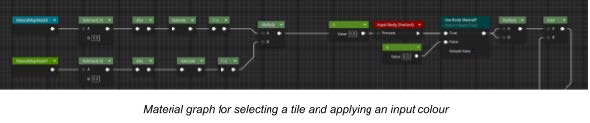
Now that I had the tile contents decided, I can create an atlas for selecting the tiles individually and applying a colour to them. Taking the horizontal and vertical map mask values, I subtracted the desired coordinate value and saturated the absolute value of that, then multiplied both the horizontal and vertical back together to get a successfully isolated tile. I could then multiply this tile with an input 4 vector.
Setting this up in a material function proved to be useful as it allowed me to be able to easily call the atlas multiple times in the future.
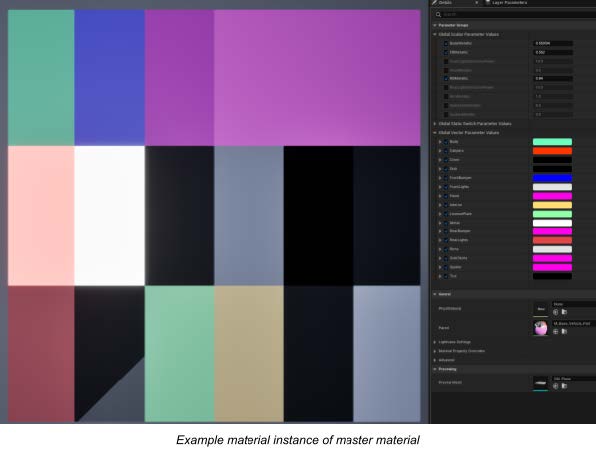
In the master material, I can now utilise this atlas function to assign colours and scalar parameters to the different tiles. I did this for the base colour, metallicness and emissivity of the material.

With the master material functional, I can now create material instances for the different meshes I import and can easily adjust the properties in the customisation system as it is all handled within one material.
Mesh UV Setup
To make sure that the different meshes worked correctly with the master material, they needed to be set up in a specific way. The process for this is quite simple and can be done by:
- Separating the meshes into the corresponding meshes (Body, Front and Rear Bumper, Hood, Side Skirts and Spoilers)
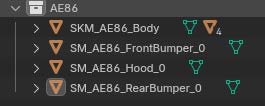
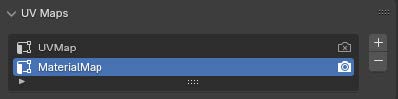
- For each mesh, create a new UV Map in the second slot. This will be the UV map that stores the UVs in the tiles they need to
be in according to the material map mentioned above.
- For each tile, select the vertices/faces that should be placed in them, select the UVs and place them in the tile.
- Remove all existing materials and assign a single material to all vertices.
If done correctly, the meshes and UV map should look something like this, with all the required tiles being filled with the correct UV islands (Some are missing as the base mesh of this preview vehicle doesn’t have them).
Now this body and any kit meshes should be ready to import into Unreal Engine and can utilise the master material correctly.
Colour Selection
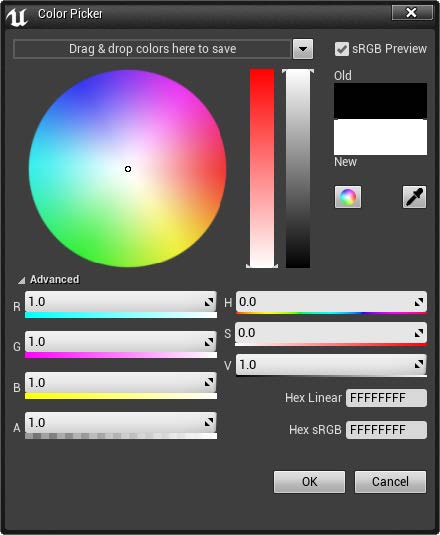
To be able to give the player a way of changing the part’s paint colour and metallicness, I needed to make some sort of colour selection menu. After researching how different photo editors and tools (like Photoshop or Blender or even Unreal Engine itself) handled colour selections, I had a rough idea of how I wanted to implement colour selection.
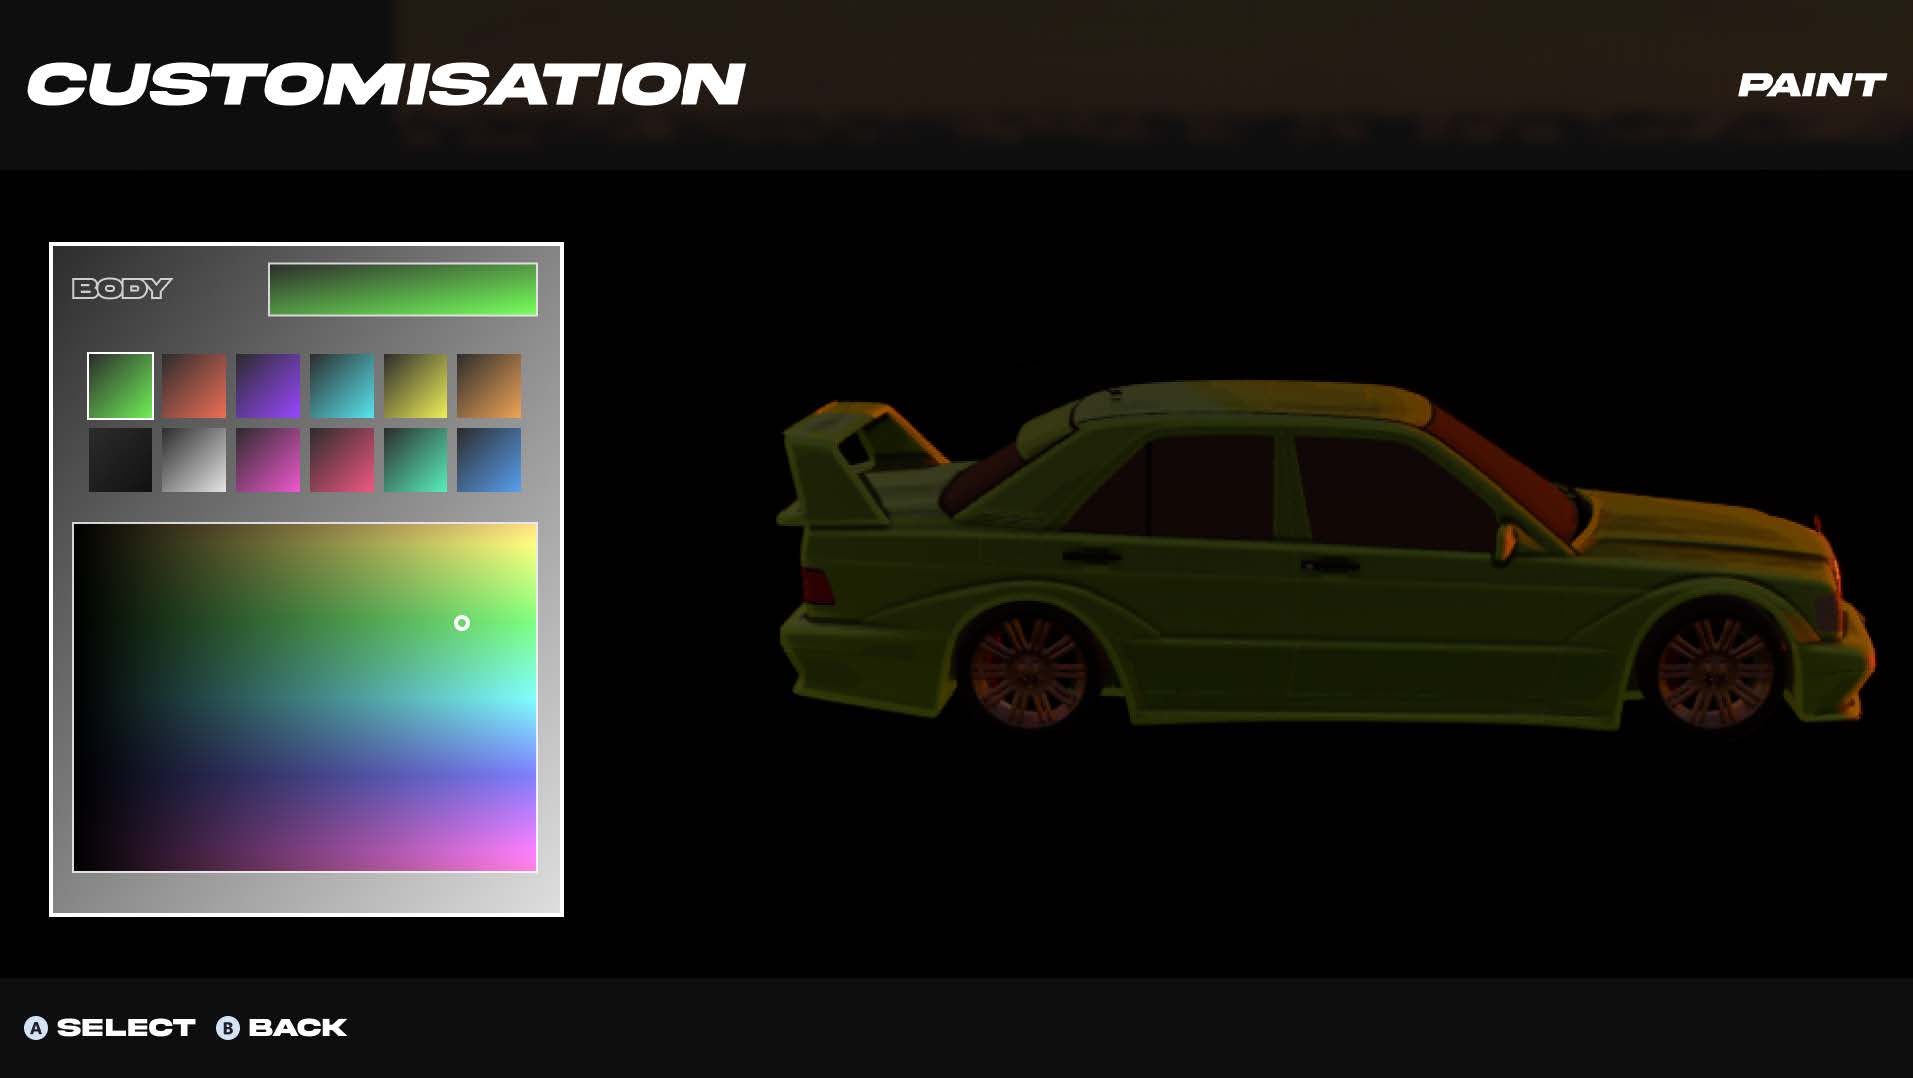
My initial concept was to have a ui widget, filled with a vertical gradient of the hue and a horizontal gradient of value, that had a thumb picker that allowed the player to pick the desired colour from the shown gradient. This would also have been ccompanied by a grid of recent colours to allow the player to have an easy way to reselect the same colours and match different parts if they wanted to.
However when it came to implementing this, I had some difficulty with setting up the colour picker so that it would read the colour under it. I first tried capturing the pixel under the picker to a render target and using the colour captured in the vehicle’s material. Although that did work in a sense, the colour it would capture would sometimes not be representative of the colour shown in the widget and also capturing the pixel to a render texture seemed a bit over engineered and not as optimised as I would want it to be.
So I went back to the beginning and chose to just use a HSV to RGB conversion to select the colour instead of a render texture. I tried converting the mouse’s position from absolute values to local values in the widget so that I can make the top left of the widget show as (0,0) and the bottom right to be (1,360). I needed to have the horizontal axis from 0-1 as this would be the value that would be used as the “value”. The vertical axis needed to be from 0-360 as this is what would be used for the “hue”. One of the issues I found while trying to implement this was that I lacked a way of getting a “saturation” value from this gradient texture. The final issue with this implementation that eventually made me change how it worked was that the mouse position wouldn’t always show the correct value depending on how the widget is used. If the widget was on its own and just added to the viewport, it worked fine. However if it was added to another widget as a userwidget, my calculations for converting the mouse positions to local space now become wrong and the colour is no longer correct as a result of this. I could have reworked the way I convert the mouse position and taken the different panels the widget can be nested into consideration, but I eventually decided that calculating the position on the gradient from the mouse position wasn’t a great solution. I wanted to create a more efficient widget.
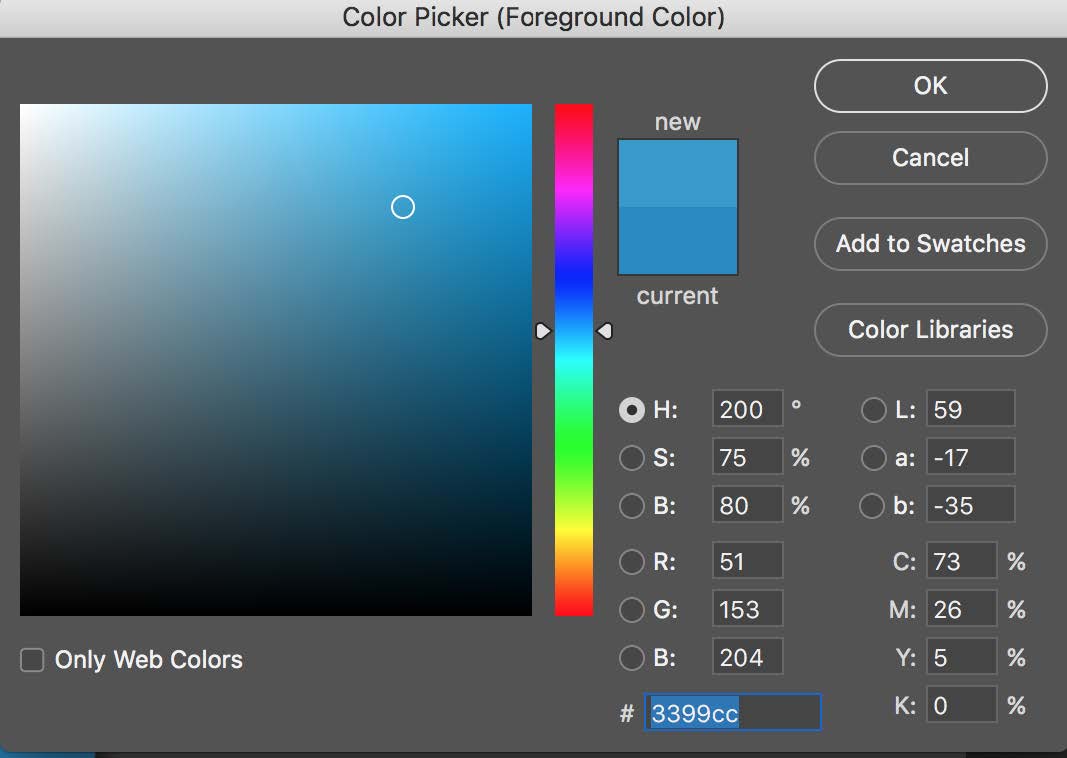
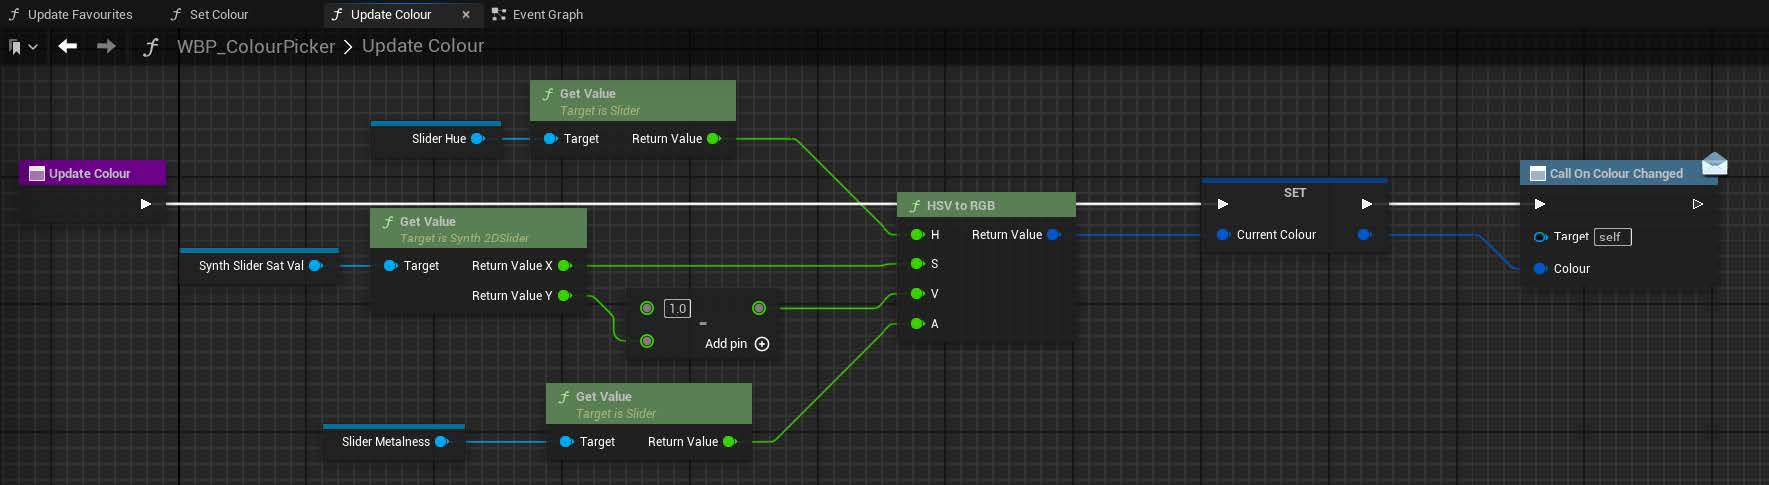
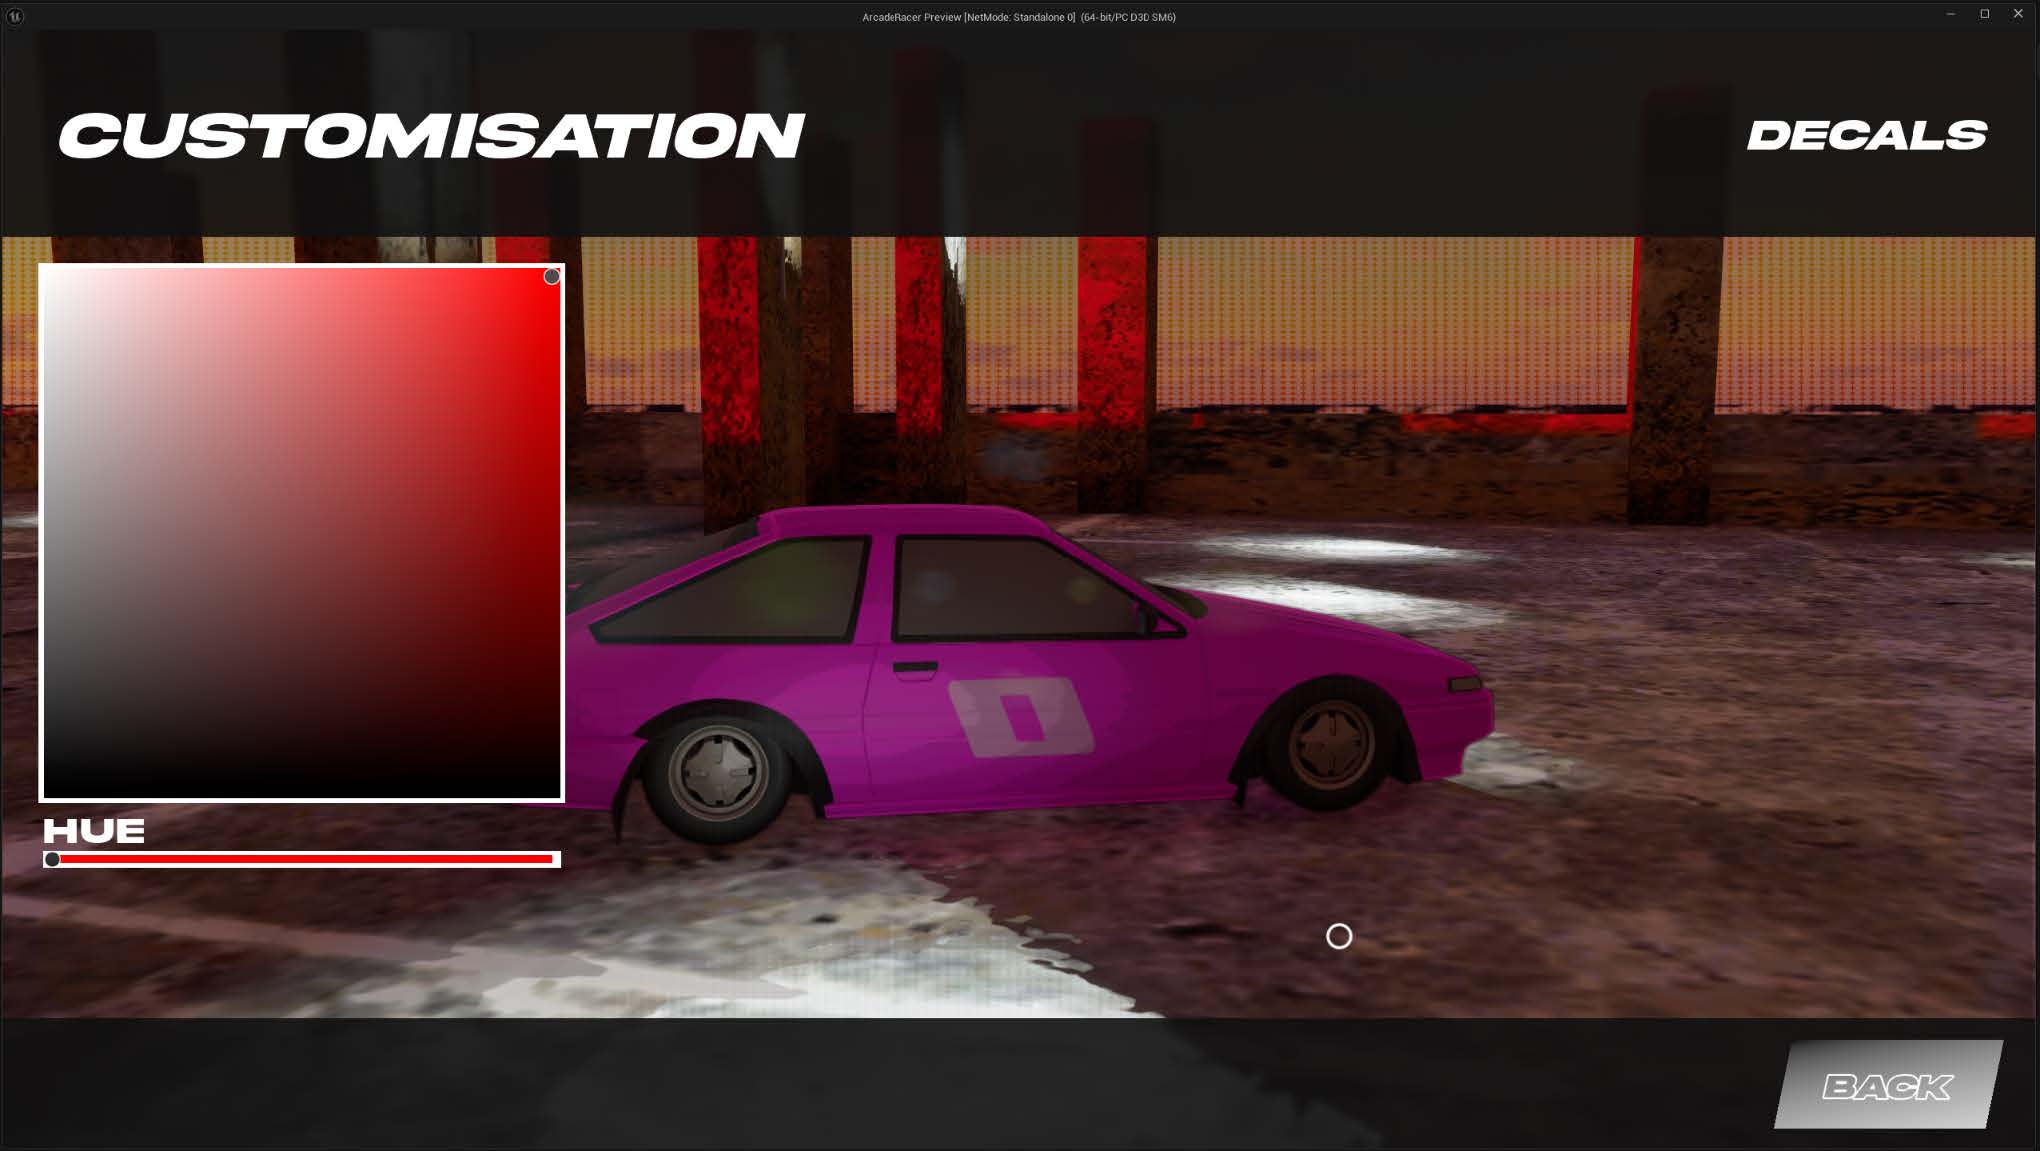
After doing some much more needed research, I found the Unreal Engine has a pre-existing base widget that does everything I needed, the Synth2DSlider widget. This widget simply shows a sliding bar with a handle that allows the player to control the value between 0 and 1. As the slider widget itself has functions for getting the value of the handle/thumb, it means that I wouldn’t have to do any extra calculations or checking the mouse position. I did need to change the way the gradient was displayed as I was only using 0 to 1 values for the Synth2DSlider. I chose to take the same approach as Photoshop does and create a simple colour gradient that goes from white to the saturated colour on the horizontal axis and colour to black on the vertical axis. This allowed me to use the horizontal value of the thumb for the “saturation” in the HSV conversion and the vertical value of the thumb for the “value”. For the “hue”, I set up a second slider that could be used to adjust the value from 0 to 360, giving the player a full range of all the colours. This second slider would simply just adjust the “HUE” parameter I set up in the gradient material.

I also added a third slider that would control the metalness of the part. This is a simple 0-1 slider that would determine the metallicness of the part in the vehicle’s material. To save having to use multiple variables and functions, I take the value from the metalness slider and use that as the “alpha” of the HSV conversion. Although this means that the colours will sometimes not be visible if the metalness is full, that can simply be accounted for when displaying the colours as we just use a hard coded 1.0 value for alpha instead of the alpha in the current colour.
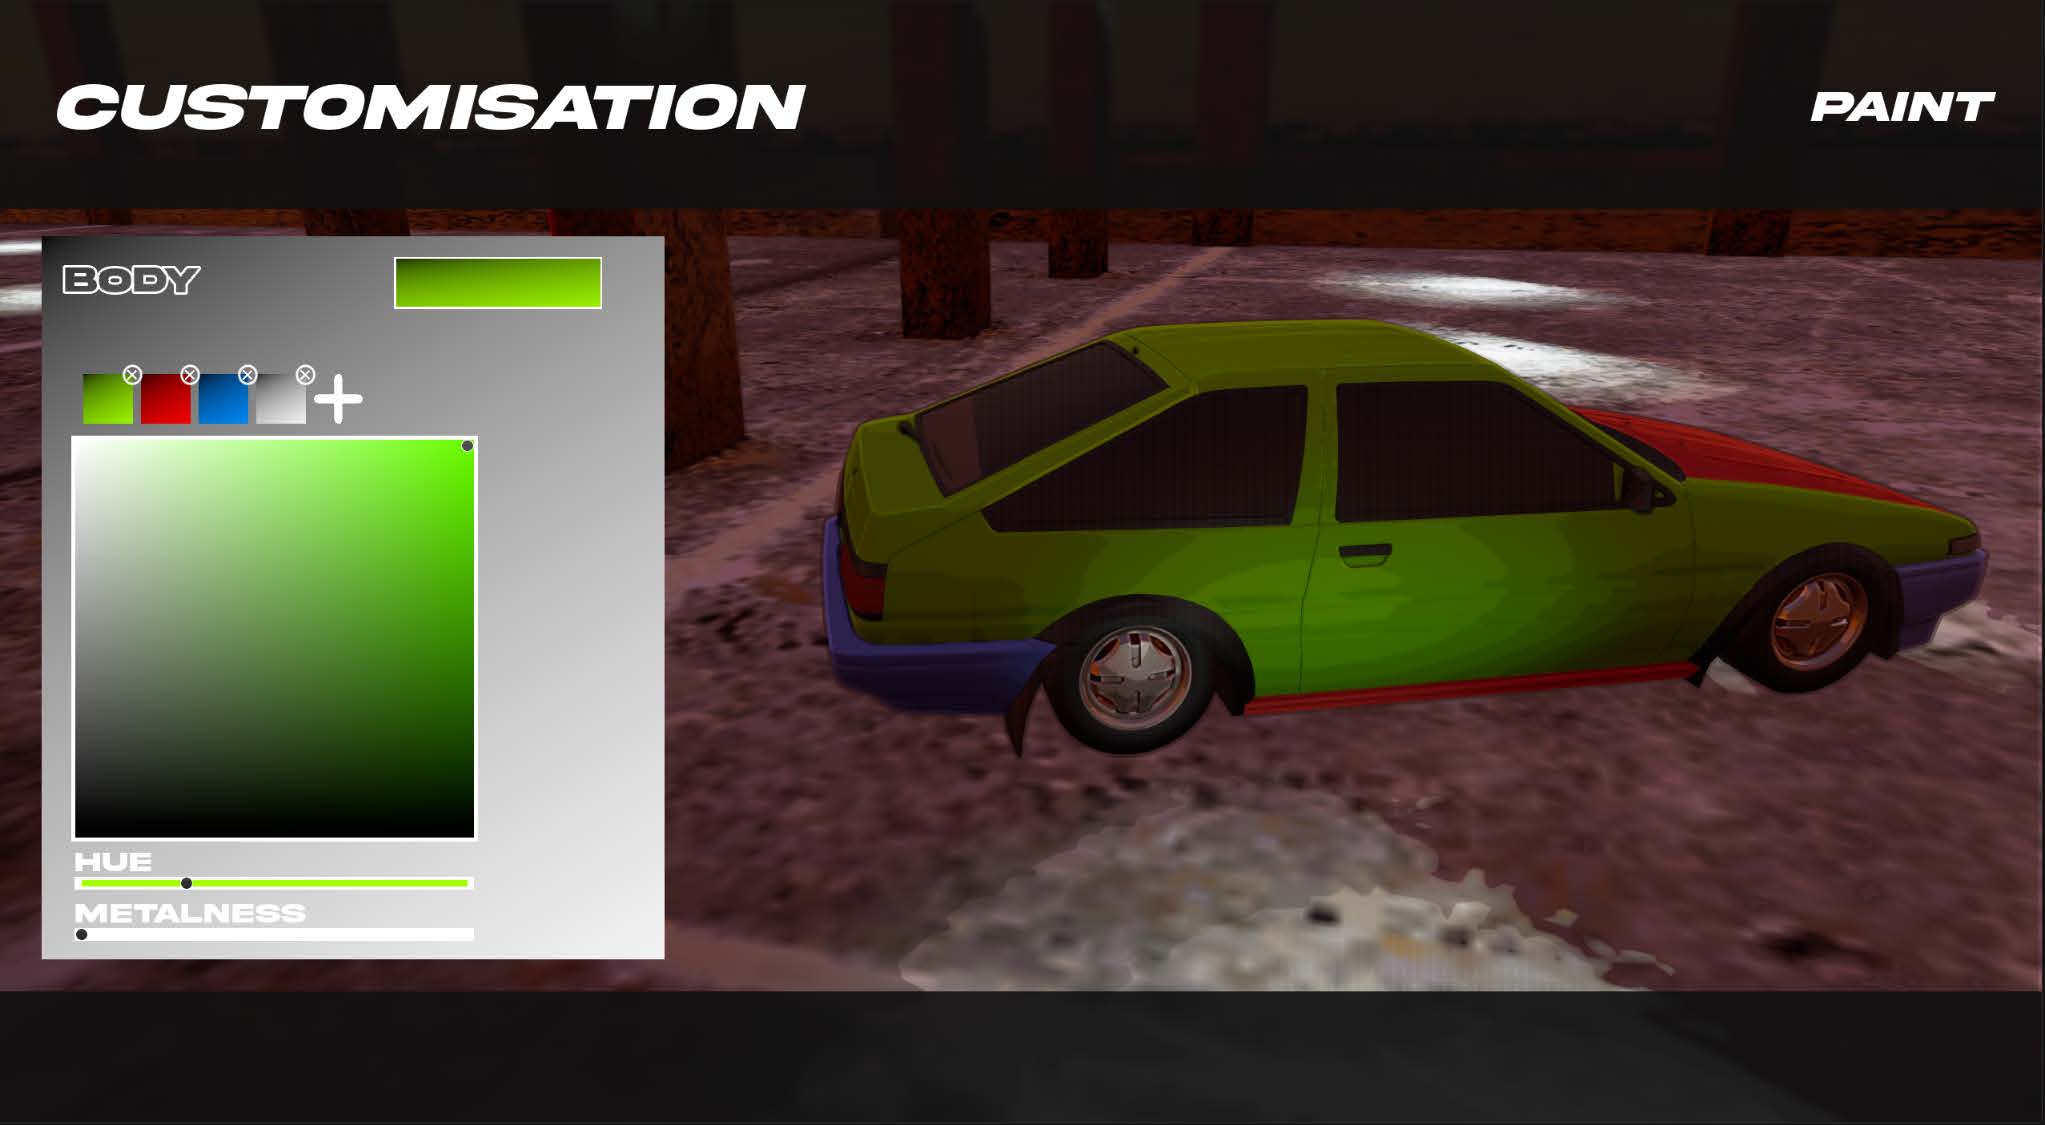
With the colour picker widget and the metalness now handled correctly, I had one thing left to implement. The recent colours grid. For this, I created a new button widget that closely resembled the concept button. This button would spawn whenever the colour picker changes colour. After getting this all working, I found a flow in the design of the recent colours grid. Even the smallest change (I.E a 0.01 value change in either of the values) would create a new recent colour button and the buttons would spawn as you are dragging the colours, essentially filling the whole grid with very similar colours with slightly different values. I added a threshold value change and also made it so that it only creates a new recent colour when you let go of the slider holder, applying the colour. In the end I wasn’t very happy with how it felt to use the recent colours. I found that if I changed too many colours while testing what looks nice, then a recent colour that I want to use would be replaced by another. Inevitably, I reworked the whole recent colour system and opted to do a favourite colours grid instead. This proved to be much more beneficial as it allowed the players to pick and choose their own common colours that they want to have easier access to. The current implementation only allows for seven favourite colours, however this can be adjusted in the future if needed.
Decal Editor
Another main feature of the vehicle system that I wanted to create was the ability to add vinyls and stickers, allowing the player to personalise their vehicles to the fullest. With the intention of making an editor for placing decals, I started by researching other racing games to see how they handled their customisations. I found that many of the games limited the customisation options in a way that I wanted to avoid, be that in the amount of decals a player can add or the placement being predefined locations on the vehicle. I took these limitations all into consideration and designed an editor that would be more accessible and allow for more creativity.
But to create an editor for decals, I first needed to set up decals. Luckily, Unreal Engine has a built in decal (actor or component) that projects a given material into the level. This was perfect for what I needed. Simply creating a decal material that projects a chosen texture worked well. However when it came to creating the material, I encountered an issue. I attempted to adjust the textures properties through the material to allow for rotating, scaling and recolouring the texture. The rotating and recolouring worked as intended. But scaling the texture too large would cause the texture to clip and cut off parts of the texture.
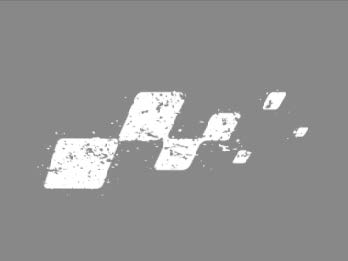
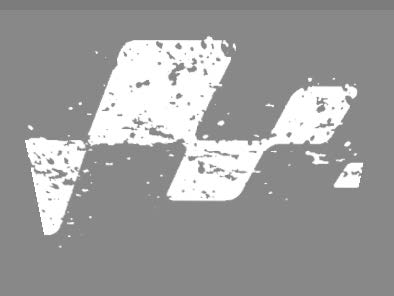
Initially, I tried working around the clipping by starting the texture at a scale of 0.75 and allowing the player to scale from a size between 0.5-1. This technically worked although I didn’t like the idea of limiting the scale size.
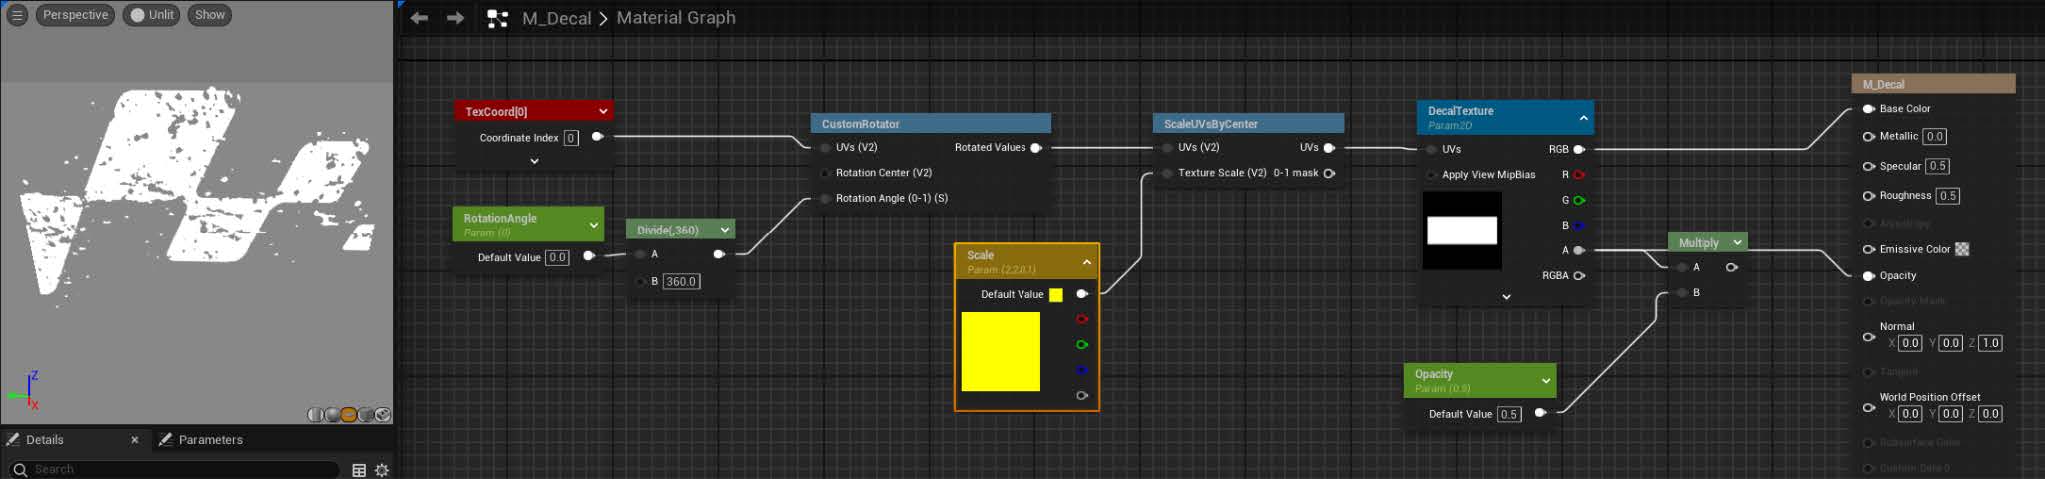
In the end, I chose to scale the decal component as a whole rather than just scaling the UV of the texture. This mitigated the clipping issue and removed the limited scaling size. Additionally at this stage of development, I also decided to keep the rotation logic inside the material rather than rotating the decal component, mainly as I wanted to be able to rotate the decal component in accordance to the location of the decal on the vehicle.
Now that I had the decal material and optional properties all decided and set up, I need a way of spawning the decals. As the main menu camera was dictated by a predefined sequence, I opted to have the player controller possess a new actor that handles a free camera that allows the player to orbit around the vehicle while placing the decals. Having an orbiting camera that can zoom, pan and rotate around the vehicle gives the player a lot of freedom with the decals placement. Once the player gets possession of this editor actor, a new decal is spawned. To calculate where the decal should be placed, a line trace is done every 0.1s from the mouse position to the middle of the screen and if the trace hits a vehicle then the decal gets moved to the hit position and is rotated using the hit normal vector to make sure the decal is facing the right direction.
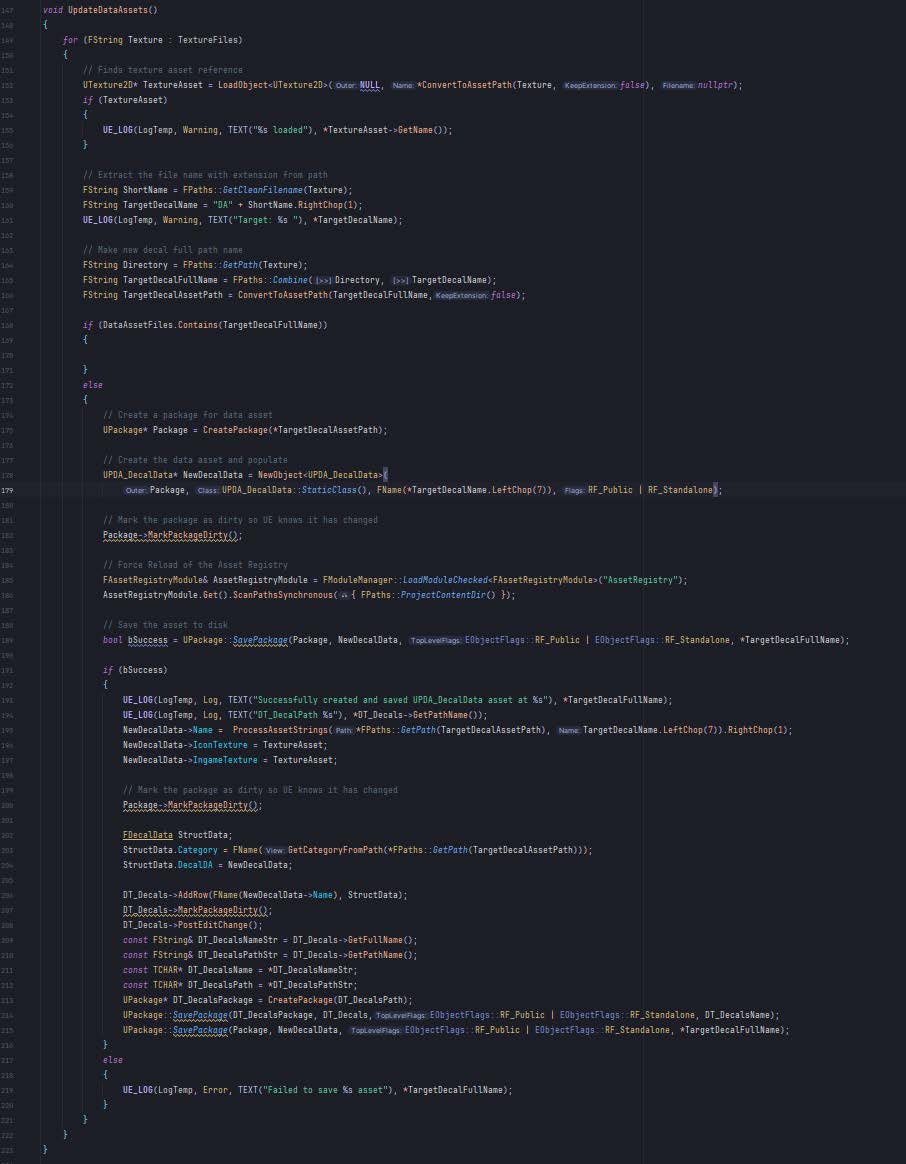
To handle each individual decal, I created a primary data asset that stores the decals name and texture. Then I created a datatable that has a struct of category to decal data assets. This means that to add a decal to the game, all that needs to be done is import a texture, create a data asset for it and add it as a row to the data table and decide which category it should fall under. The widget that handles the picking of decals will read the data table and create a new category list for each unique category and a new button for each individual decal. I further optimised this decal creating process by creating an editor plugin that will automatically turn decal textures into data assets and automatically add them into the decal datatable. I dub this plugin, “Decal Maker”. On the click of the plugins toolbar button, it will read all textures in the /decal directory, check whether a data asset for it already exists and if not create a data asset then proceed to add the new asset to the data table. This speeds up the decal creating process as I no longer have to individually go through each texture making data assets for them and manually adding them to the data table. It simplifies the process down to importing all textures into its category directory in the /decals folder and clicking the plugins toolbar button. This however means that for the decal maker to work, the textures need to be named “T_Decal_[Category]_[Name]”.
Save and Loading
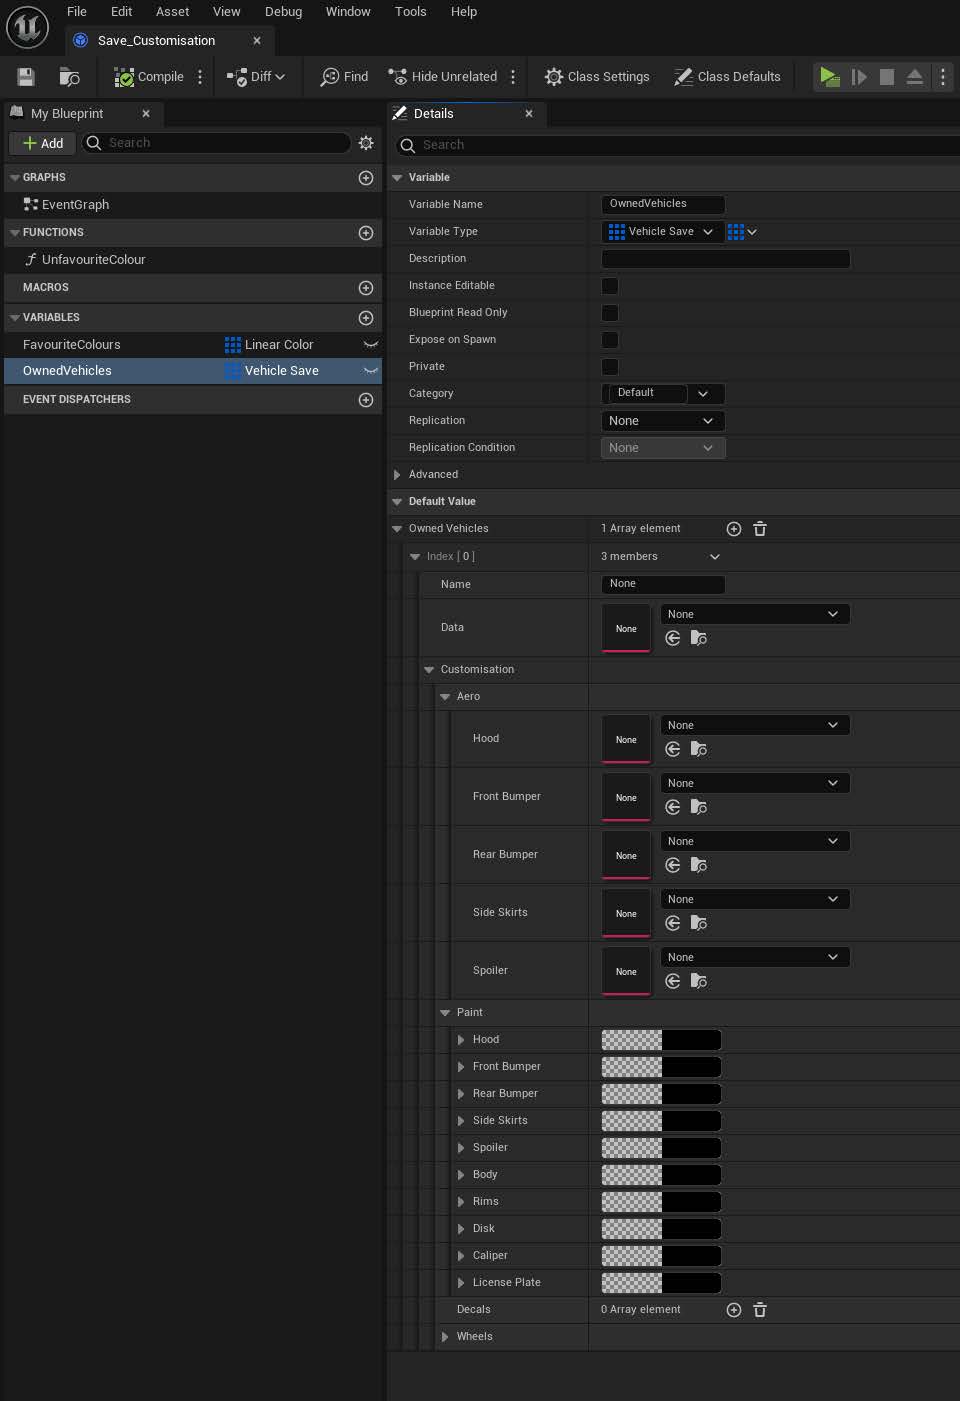
Now that the position, rotation, scale and colour can all be changed by the player and the editor works as intended, other than one minor caveat. Decals didn’t persist between sessions. As a matter of fact, no customisation options persisted. I needed to save the different customisations when modified and needed a way to load them. After creating a map of exactly what I was going to need to save, I created structs in the engine that followed the map and had each variable and created a new Unreal Save class that handled vehicles and customisations.
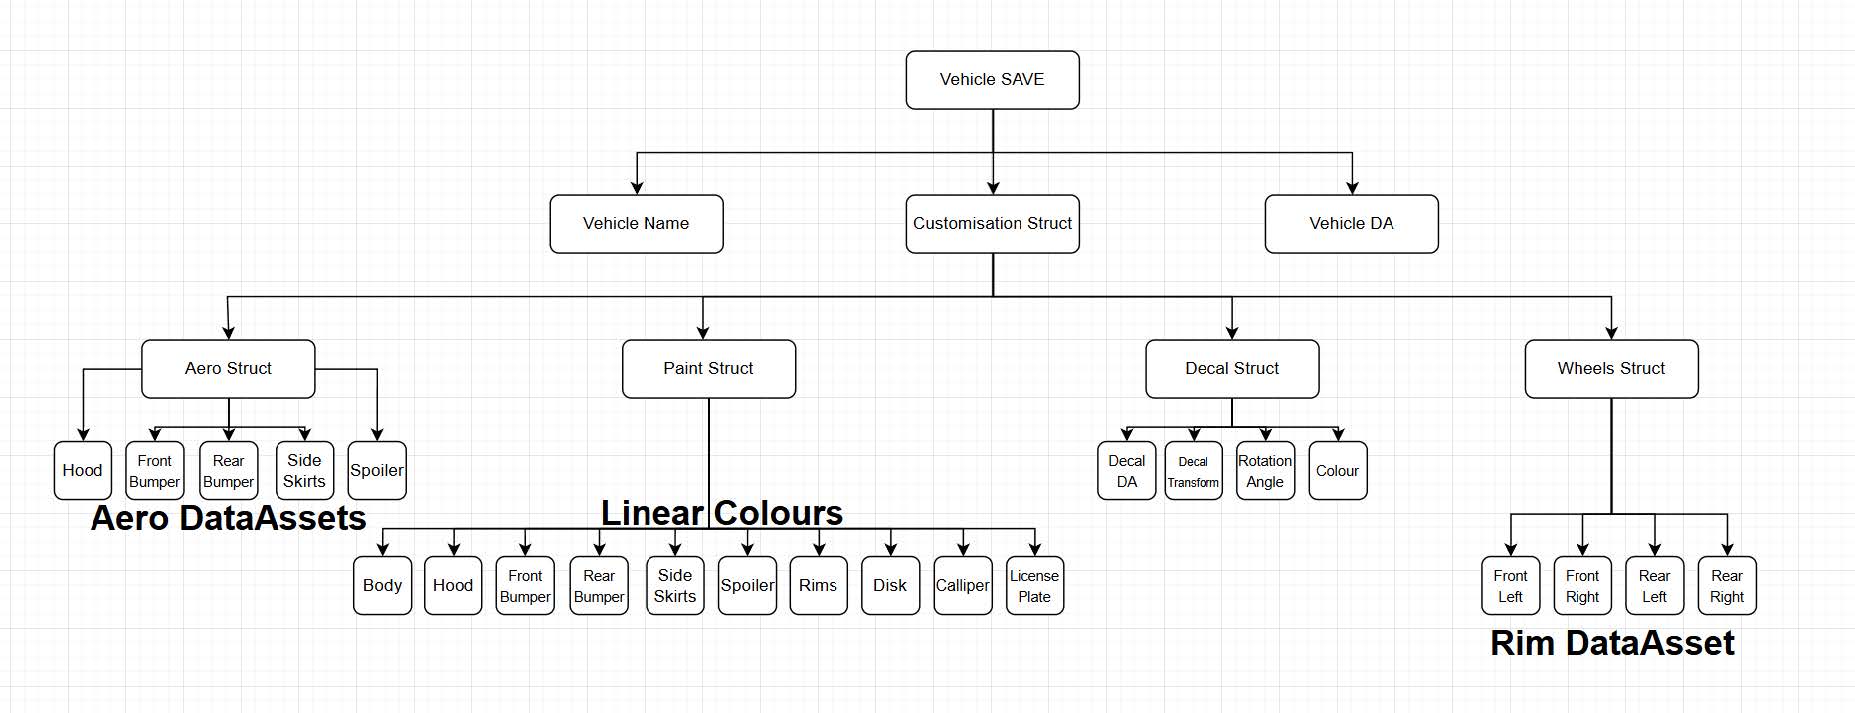
The save included an array of the top level struct “VehicleSave” which had the vehicle name, customisation options and vehicle data asset. This array can essentially be used as an “Owned” vehicles save which dictates what vehicles the player owns and allows for multiple vehicles of the same type but with different customisation options; each “VehicleSave” struct being a unique vehicle.
Evaluation
In this project, the main purpose and goal was to design and create a working vehicle customisation system. I chose to make this system as making it requires crucial planning and development skills that could be applied to making various other systems. I’m also a fan of racing games so it was something that was familiar to me. In the end, I’m proud that I was able to achieve what I set out to make and it works well. On a basic level, it works well as a concept or first version but I also acknowledge that it definitely needs some improvements and polishment before I would deem it “complete”.
After researching, I chose to make the project in Unreal Engine 5 because it was the game engine that I am most comfortable with and many companies are transitioning over to using Unreal Engine instead of in-house engines. Luckily the research I did on other racing and sim games that have customisation options was very helpful with creating a concept project that incorporates everything I had planned as I already had an idea of what was needed. Although I do wish that I had dedicated more time to playtesting the project when packaged as a few bugs appeared that didn’t show in editor. If I was to do this project again, I would know to test more vigorously and spend more time fixing issues. This has given me a better opportunity to see how a technical designer / system designer would work and what they would be responsible for. I feel like my work is closely up to par with what would be expected from a professional so I’m happy with how my project turned out.
References
Base vehicle 3D models: TOON Japan. (2025). LePoint_BAT. https://lepointbat.gumroad.com/l/toon-jdm?layout=profile
Font used in character decals: Super Brigade Font. (2023). Iconian Fonts . https://www.dafont.com/super-brigade.font